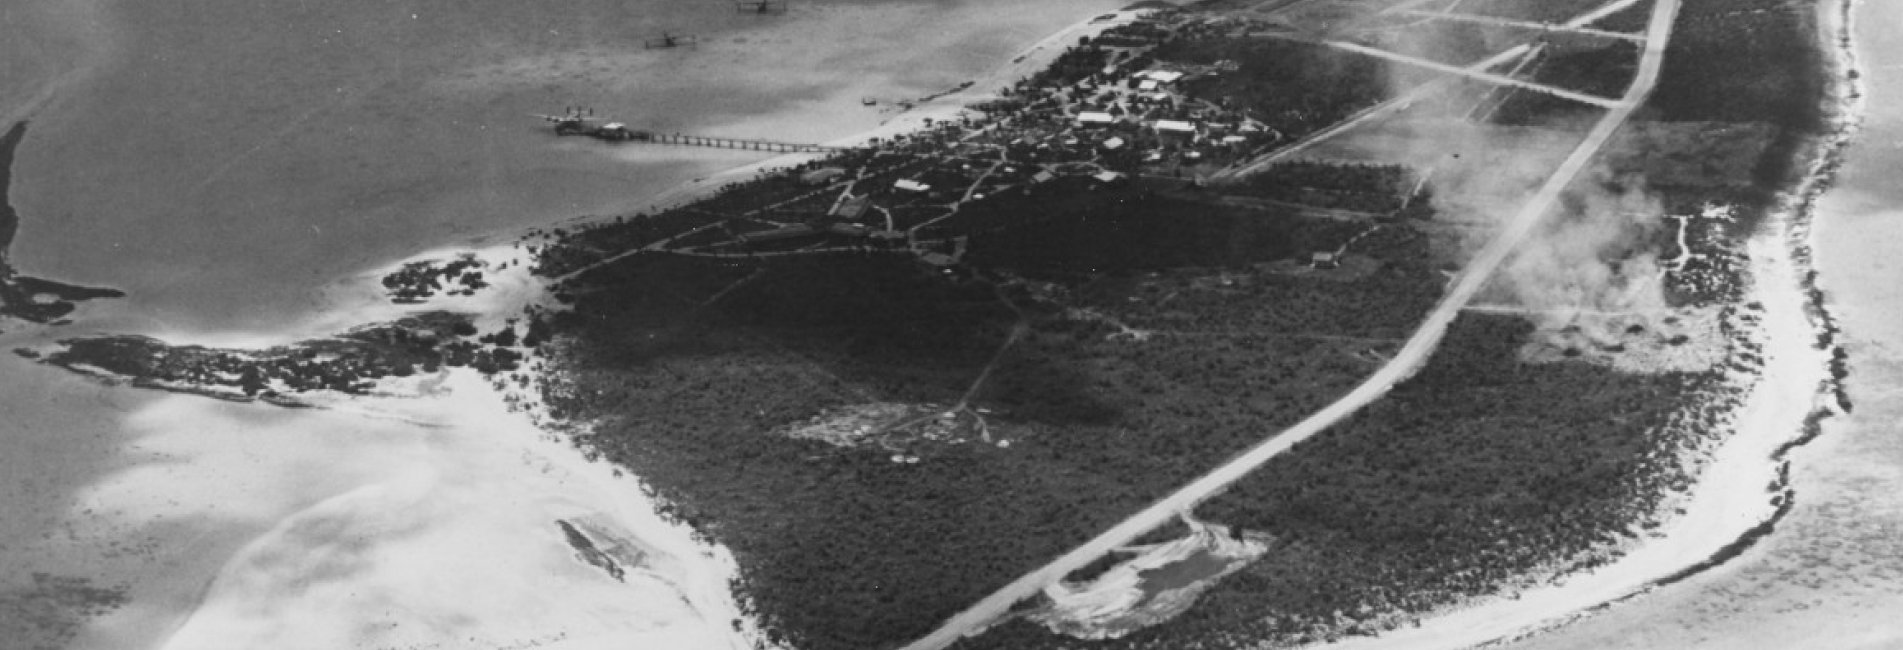
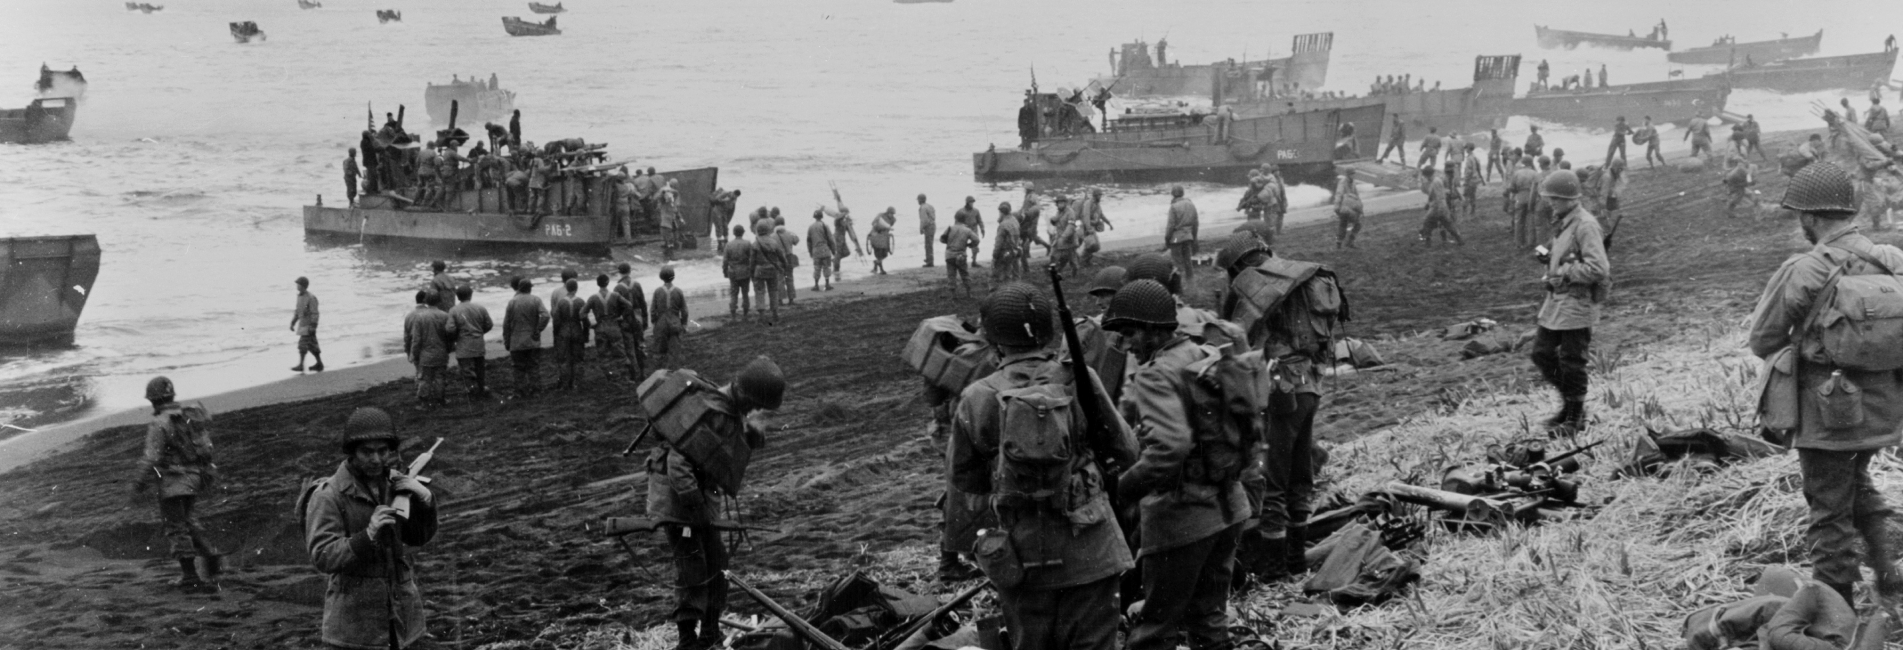
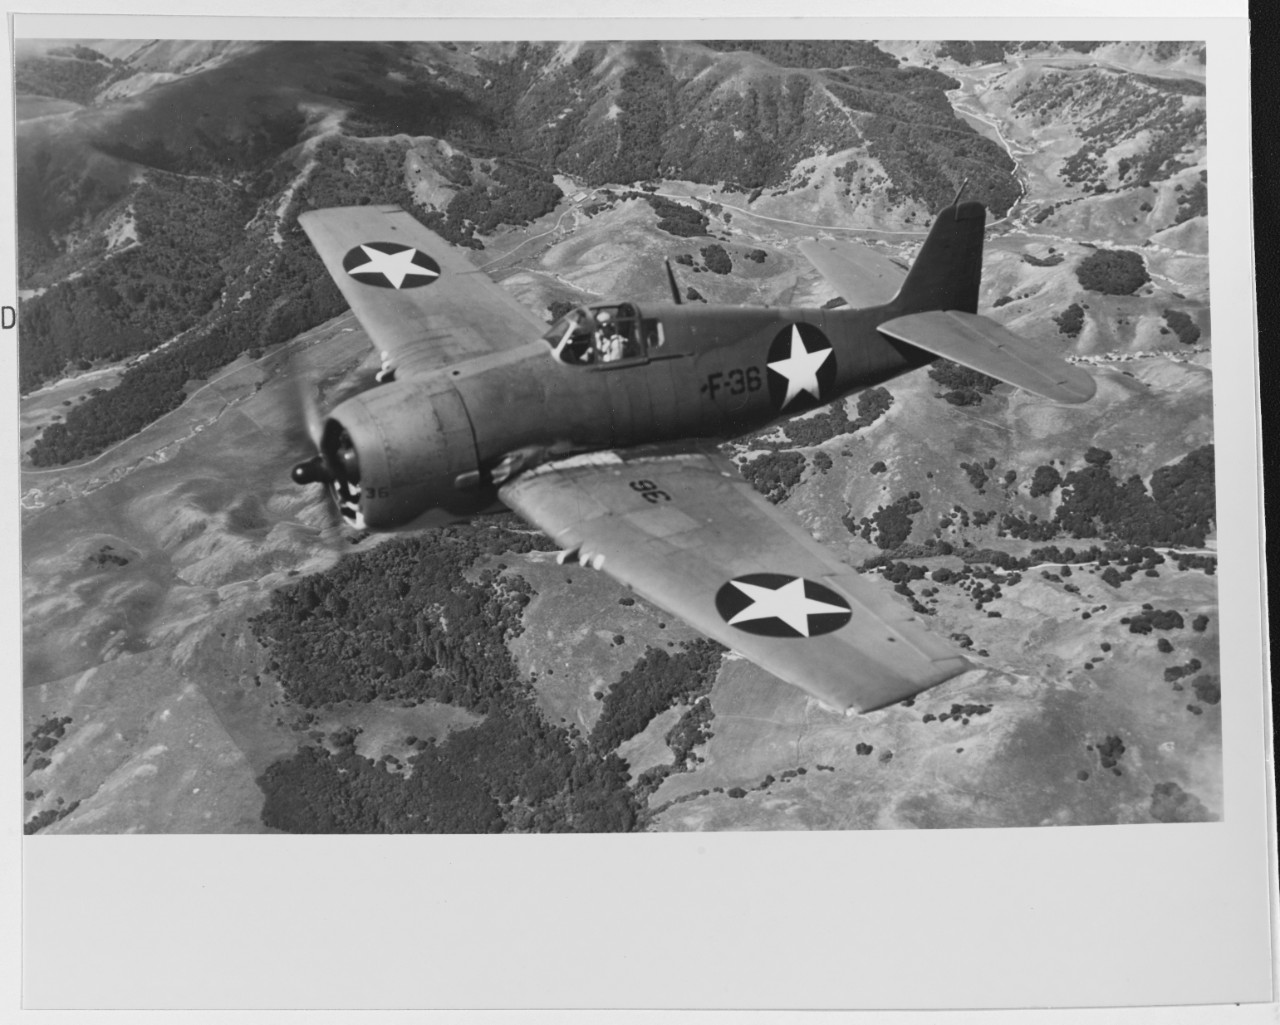
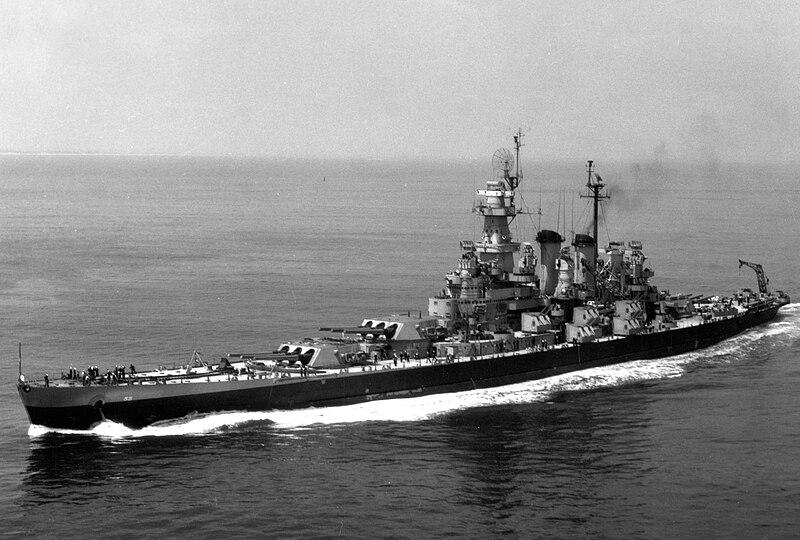
Facing the brunt of twin offensives—MacArthur’s campaign in the southwest Pacific to retake the Philippines, and Nimitz’s thrust across the South and Central Pacific—the Japanese fought tenaciously, exacting a heavy toll on their foes. Across tropical jungles and blood-soaked beaches, casualty counts on both sides steadily climbed, but each time, the Japanese were defeated.
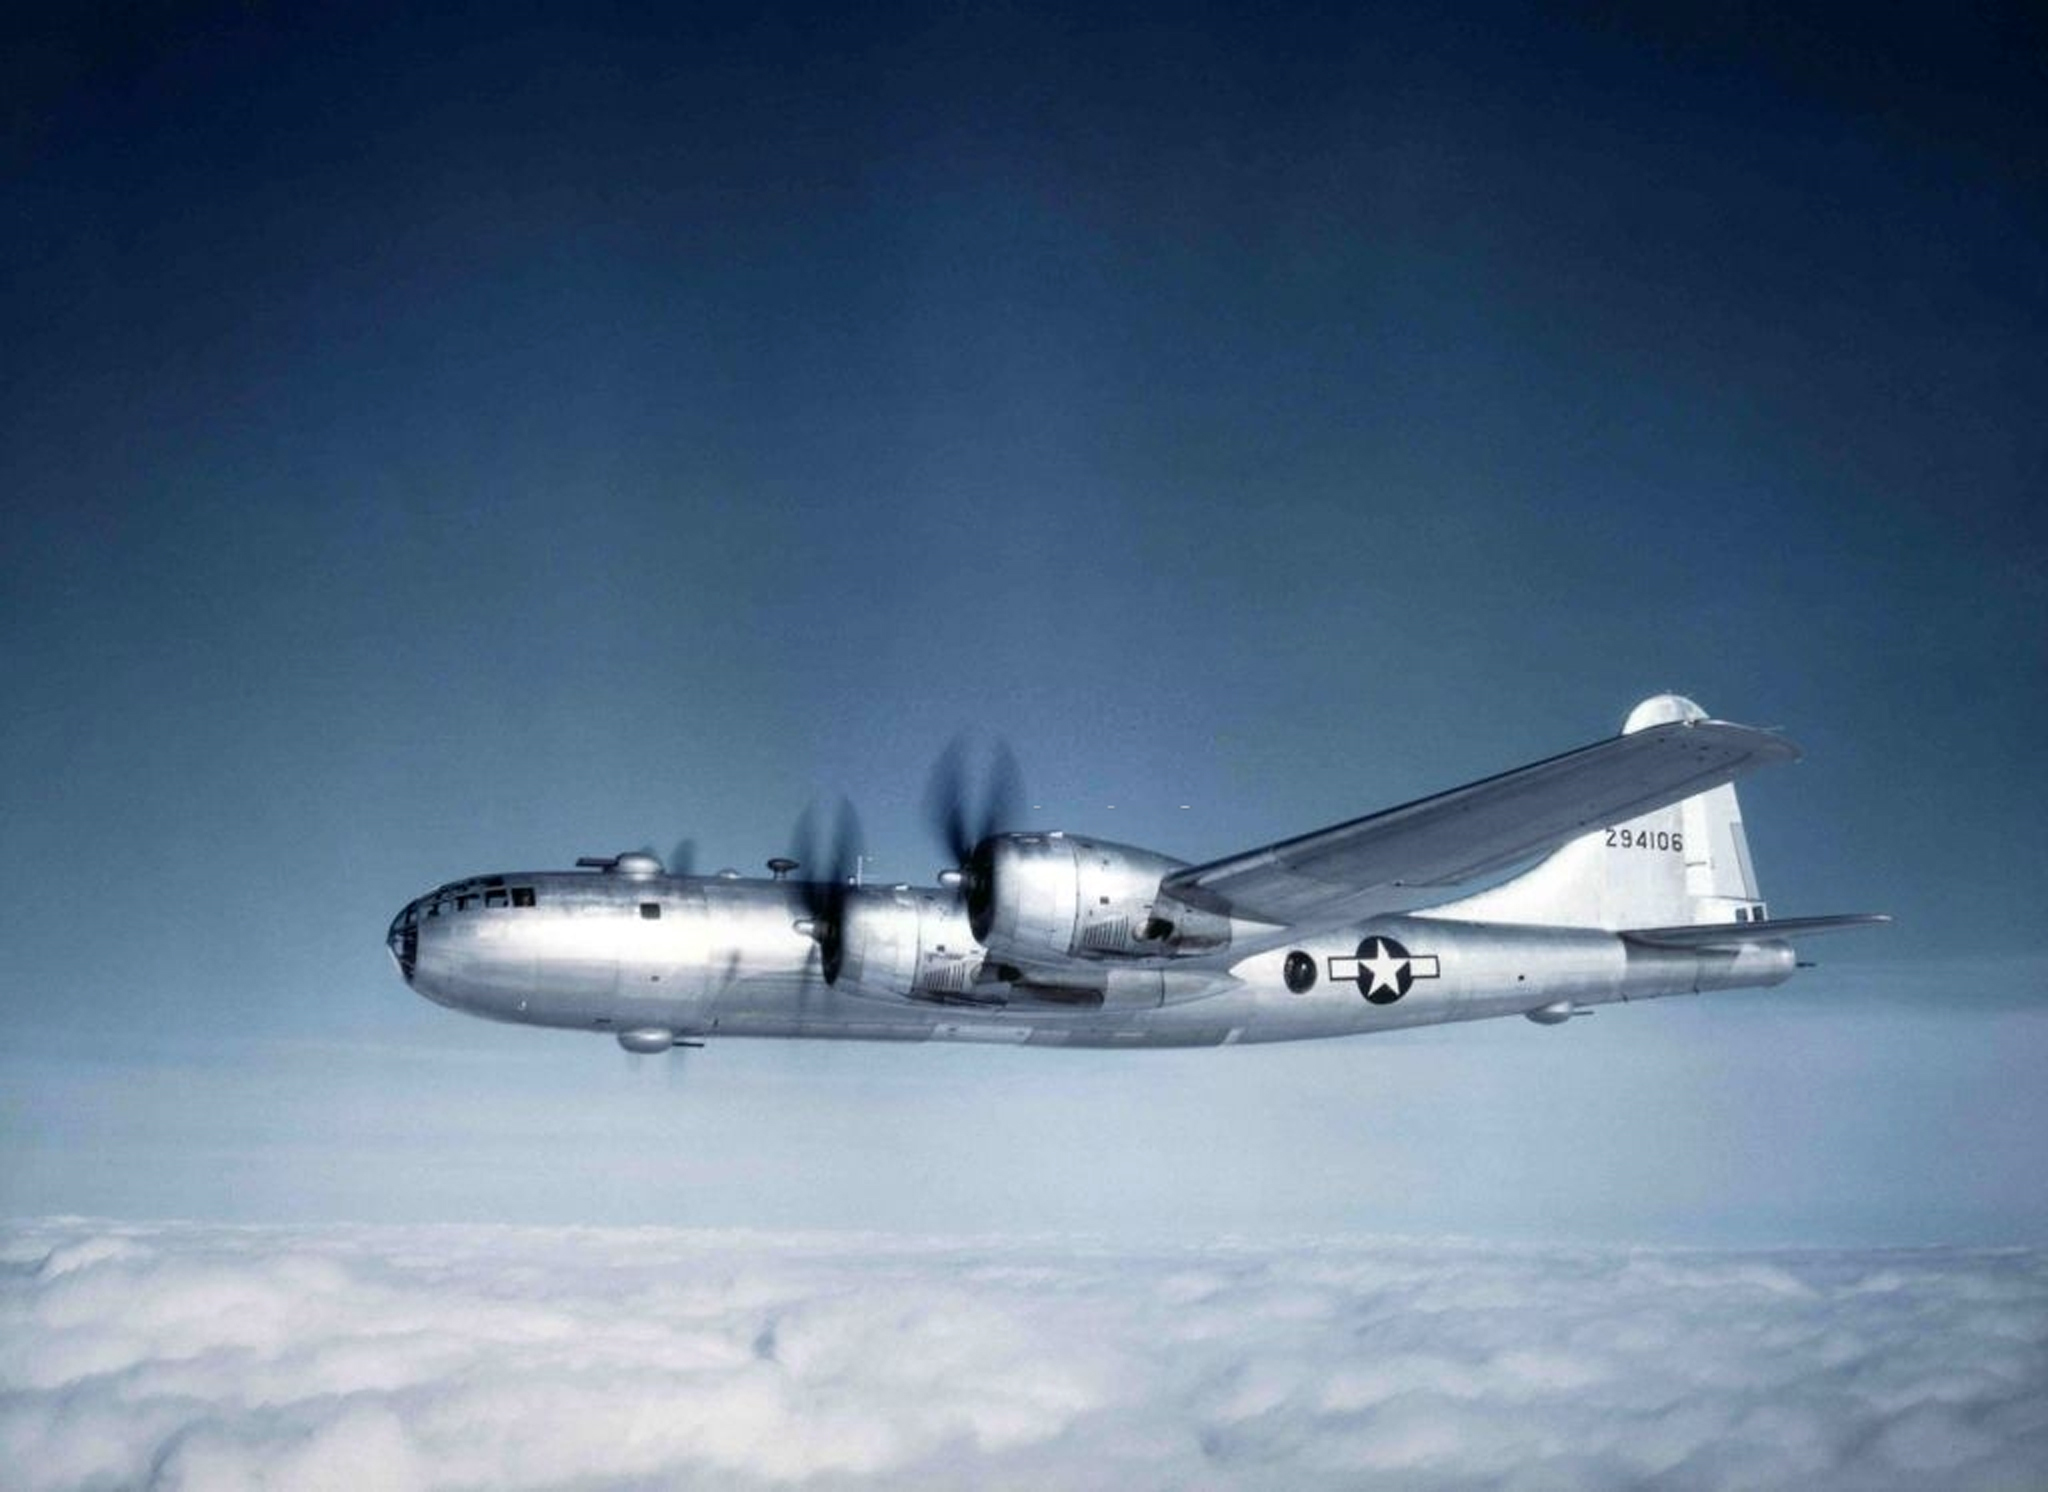
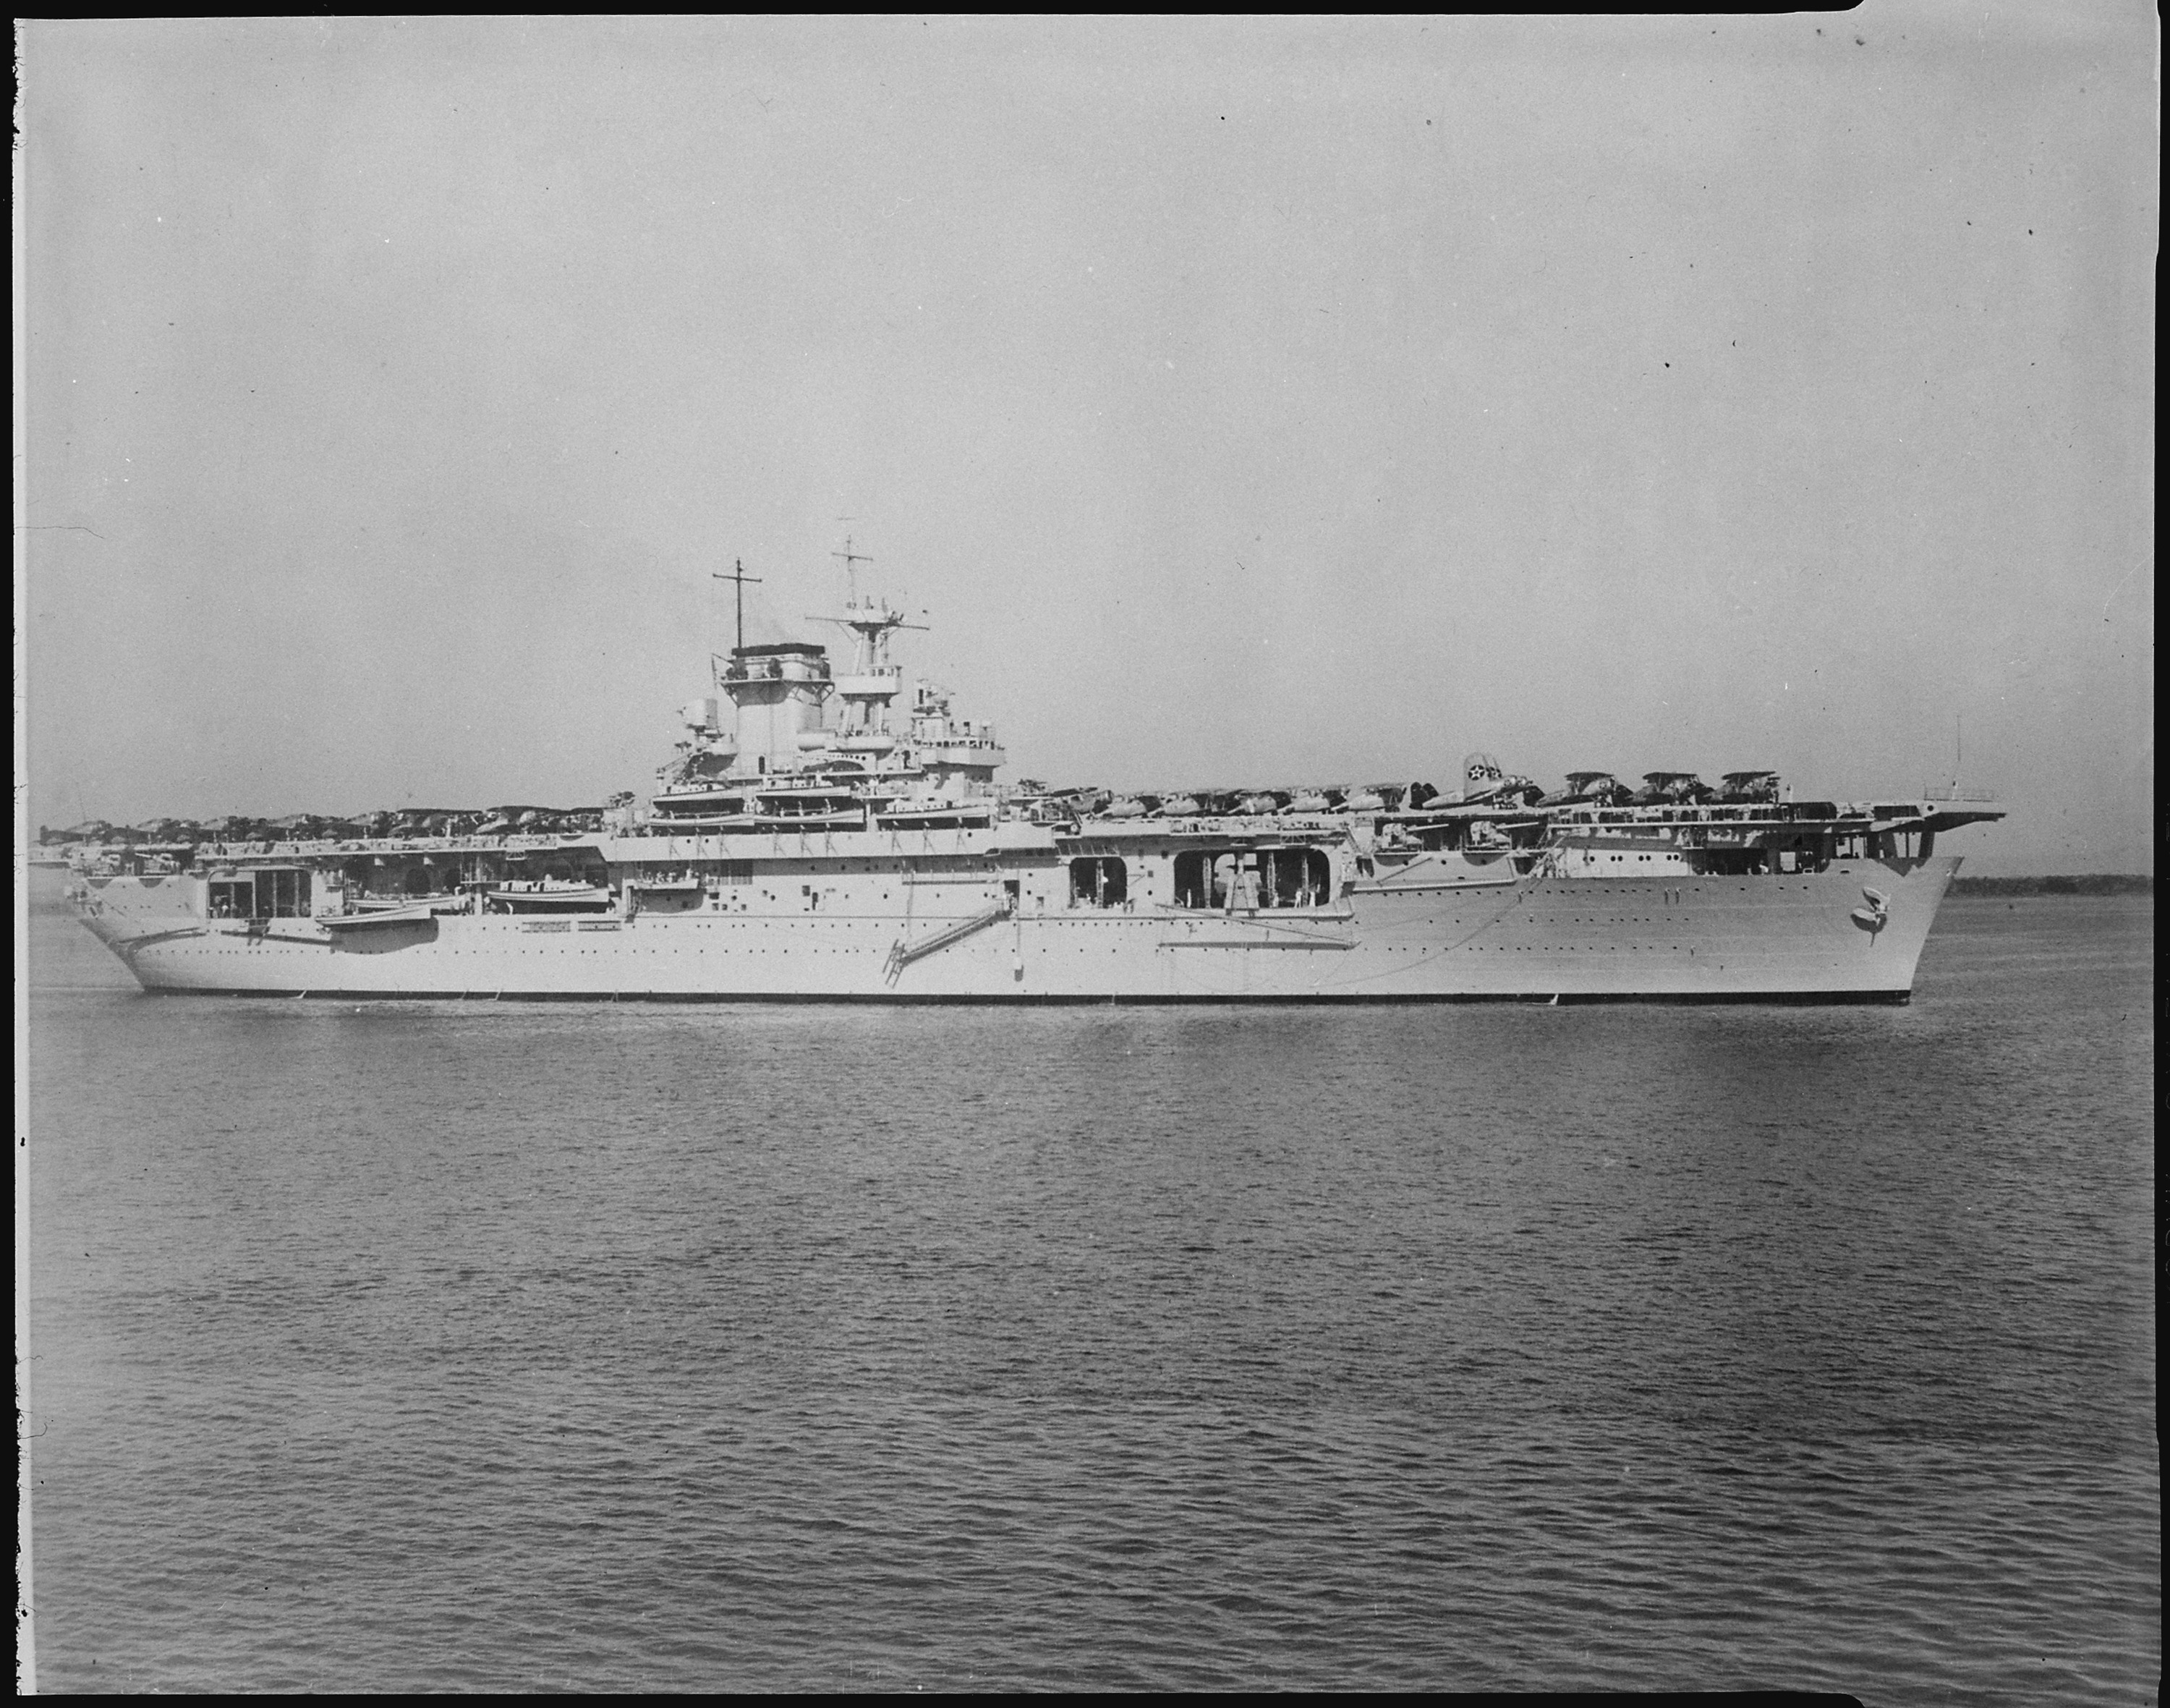
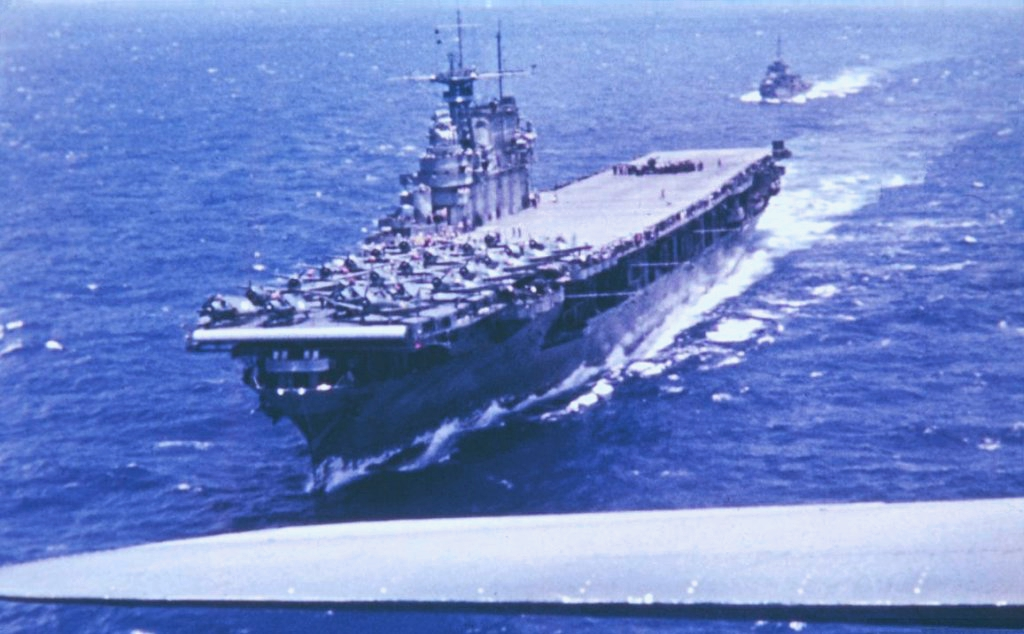
Conditions in Japan were also rapidly deteriorating. Throughout 1943, the American submarine fleet preyed on Japanese shipping, leading to shortages of food and war materiel. Their plight was expected to worsen in 1944 with the arrival of new, long-range B-29 Superfortresses in the Pacific. From airstrips in China and the Marianas, the heavy bombers could hammer Japanese manufacturing and infrastructure day and night, further gashing the country’s industrial production.
Though the war in the Pacific had turned decidedly in the Allies’ favor, the strategic picture on the Asian mainland was far more clouded. Imperial Army forces on the continent remained a viable threat to the Allied alliance, but in early 1944, a sequence of events in the China-Burma-India Theater threatened to turn the tables once again.
******
By 1944, nearly seven years had passed since a quest to acquire needed raw materials led Japan to invade neighboring China. It was an opportune moment, as the Chinese were plagued by civil strife between warring Communists and Nationalists, the latter in control of the government and military. The Japanese made considerable early gains, occupying much of eastern China, including population centers from Peking to Shanghai, but were unable to vanquish the Chinese Nationalist Army, led by Generalissimo Chiang Kai-Shek. The Chinese avoided early-war showdowns with their better-equipped and trained adversaries, withdrawing the bulk of their army to the deep interior of China. To isolate and weaken those forces, the Japanese seized Hong Kong and Burma shortly after the attack on Pearl Harbor, cutting off key pipelines for weapons and munitions the Chinese desperately needed.
Years of stalemate followed, with implications that stretched far beyond China’s borders. The failure to finish off the Chinese left hundreds of thousands of Imperial Army troops tied down on the continent – troops the Japanese could have used to fortify air and naval bases across the Pacific, or even invade Australia. The ongoing standoff in China had proven a boon to the Allies, saving countless lives elsewhere, but with key ports in Japanese hands and overland supply routes cut off, the Chinese were running chronically short of the means to continue resisting their invaders.
The Allies conjured an imaginative alternative – airlifting supplies from India. For nearly three years, the US Tenth Air Force flew weapons, munitions, and medicine over the treacherous Himalayas and into China – a 500-mile route known as the “Hump.” Many of the American transports and their air crews were lost to the gusting winds and other harrowing conditions, but the lifeline provided Chinese forces with at least some supplies to sustain their resistance.
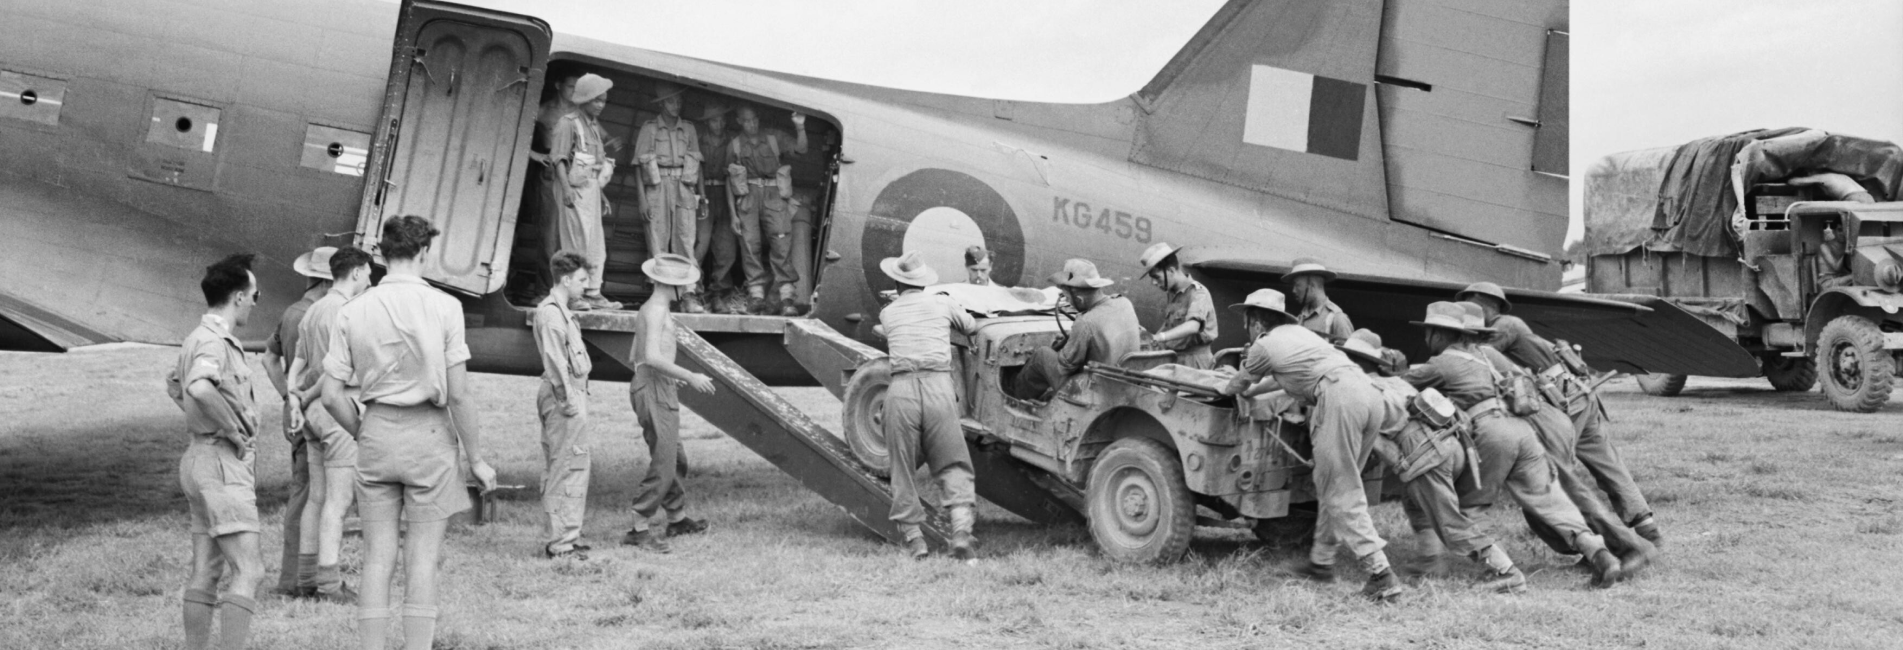
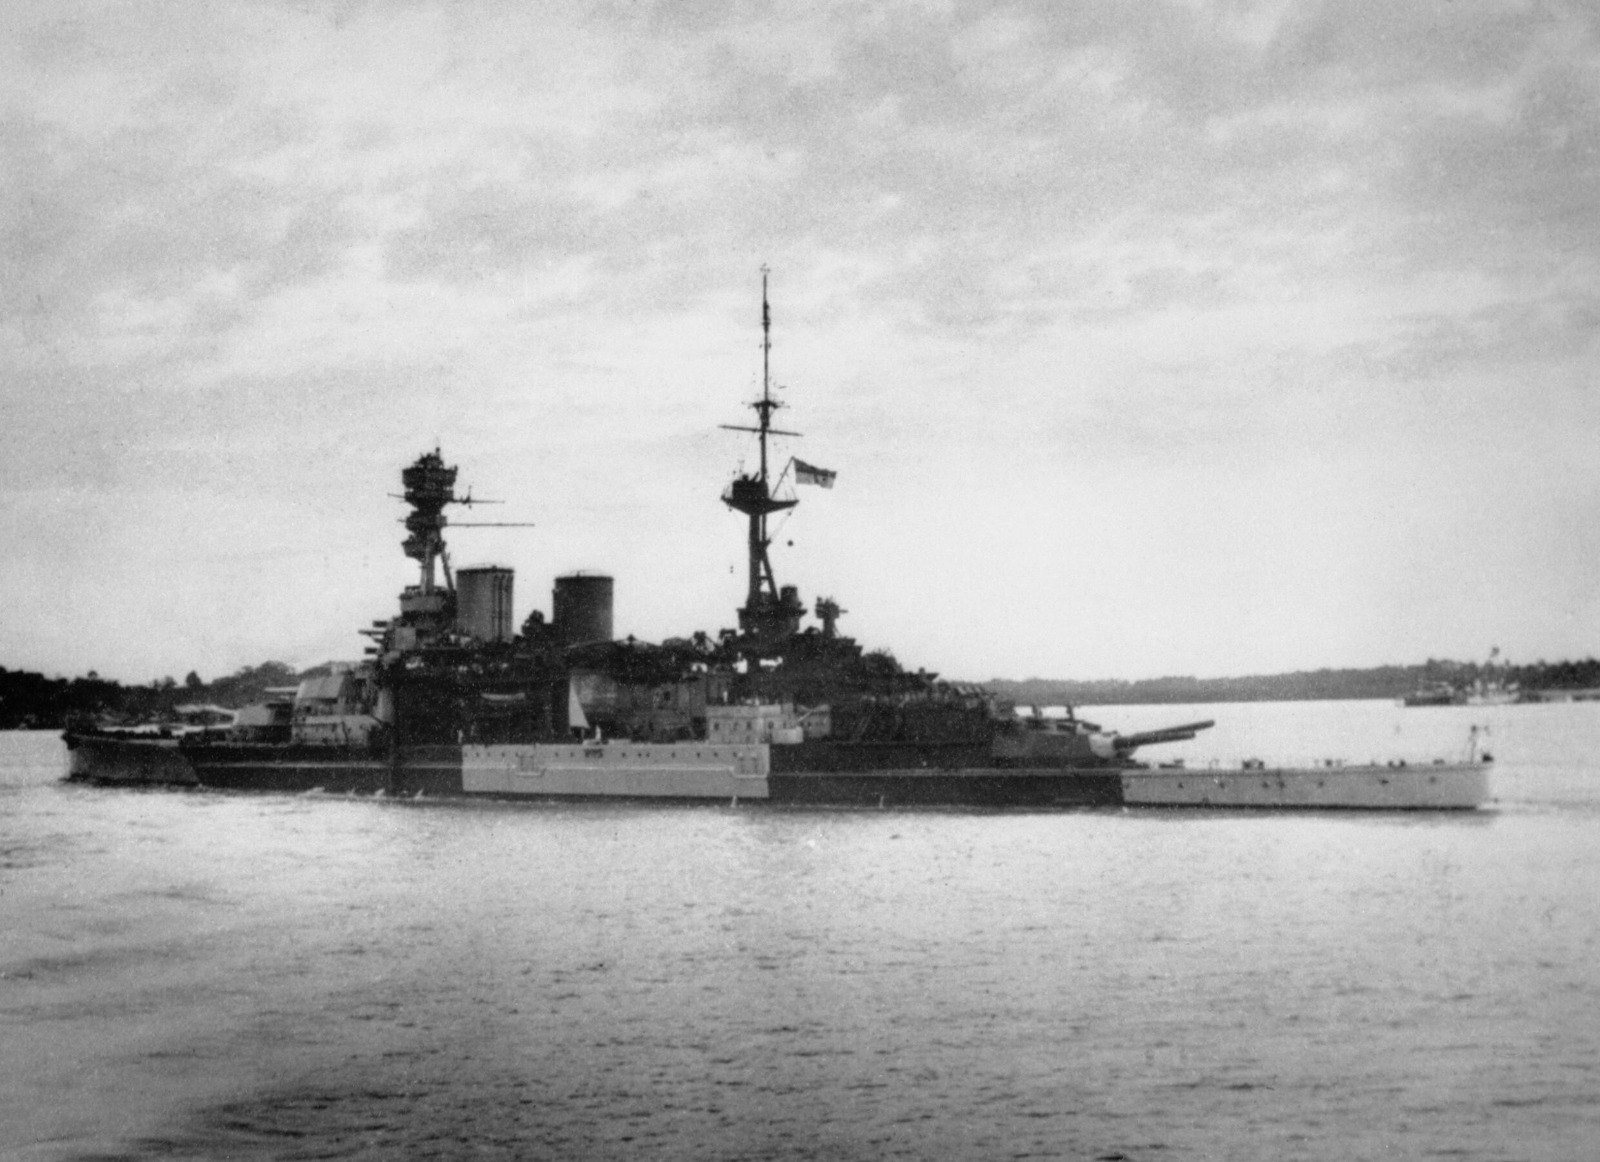
The Allies were also gaining strength elsewhere, especially in India, the jewel of the British Commonwealth. In 1942, Commonwealth forces had been badly whipped in the jungles of Burma, but when the Allies retreated to India, the Japanese ended their pursuit, hampered by torrential rains and overextended supply lines. The British gradually rebuilt their ground and air forces in India, and by early 1944, were preparing to push across the northern frontier and retake occupied Burma.
The Japanese Offensive
At the same time, the Japanese were plotting to strike key junctions and depots in northern India. The move was designed to blunt any potential British offensive that spring, but had secondary objectives as well, including choking off supplies to the Chinese and stirring political unrest among the Indian people. To accomplish the latter, a division of anti-British Indian nationalists was added to the Japanese invasion force. The former Indian soldiers, captured earlier in the war by the Japanese, were expected to spread decolonization sentiments and instigate a popular uprising against British rule.
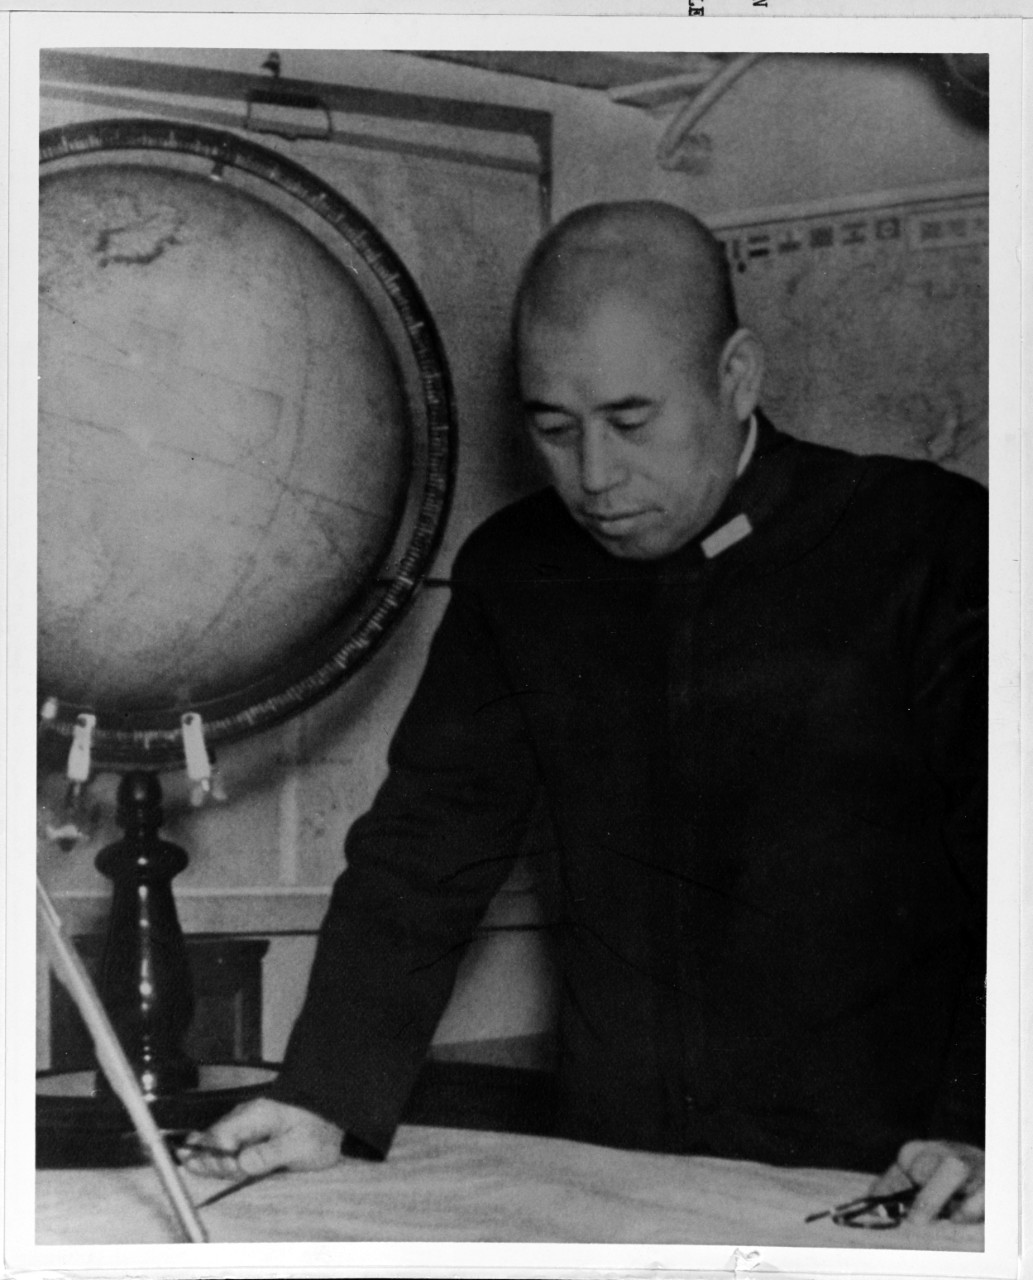
In March 1944, Lieutenant General Renya Mutaguchi of the Imperial Japanese Army marched the 85,000 men of his 15th Army into northeastern India from just across the border in Burma. His objective was the British base at Imphal, roughly thirty miles from the Burmese border and home to the British IV Corps and its three Indian infantry divisions. Prized airfields would be seized, as would caches of fuel and supplies. Capturing those goods would be imperative, as the great distance from Burma would cut the Japanese off from their own supply sources. Once Imphal was in Japanese hands, Mutaguchi would drive his men to Dimapur, a massive logistics base some 120 miles to the north. Dimapur was lightly defended—the surrounding terrain was considered impenetrable to a large invading army—but it was a vital cog in the British operational network, with supply depots stretching for eleven miles and a railhead that brought troops and resources from Calcutta and beyond.
Imphal would come first, though. After weeks of diversionary fighting to the south in Arakan, lead elements of Mutaguchi’s army began clashing with the British IV Corps across the 600-square-mile plain surrounding the Allied base. As the two sides settled into a prolonged siege, one of Mutaguchi’s divisions, led by Lieutenant General Kotoku Sato, marched to the north, trudging across miles of punishing terrain in the Naga Hills as they pushed closer to the hilltop town of Kohima. The town controlled the road leading from Dimapur to Imphal, and Sato’s orders were to seize Kohima with his 15,000 men and block the road, cutting off the besieged British and Indian forces at Imphal from re-supply.
But Sato ran into an unexpected obstacle. The 50th Indian Parachute Brigade happened to be in the area, completing a series of training exercises. Sato’s division managed to encircle the 2,000 paratroopers and capture their only source of nearby fresh water, but for six days, the Indian troops stubbornly held their ground. Hammered day and night by Japanese artillery, they managed to repulse repeated assaults despite lacking defensive tools such as mines and barbed wire. The sleep-deprived men refused to buckle, even fighting alongside decaying corpses, but the dead among the paratroopers included most of the officers, and there was little available care for the hundreds of wounded. Unable to resist any longer without water, the survivors finally slipped away, having stalled an entire division for days. It was an extraordinary stand.
The British had long expected a Japanese incursion into India, but were not yet prepared to defend their bases, surprised by the speed with which the Imperial Army troops had pushed across the forbidding terrain. Assorted forces were rushed in from elsewhere in India, including the 15,000 men of the 5th Indian Infantry Division, airlifted into Imphal. One brigade was detached to the north to secure the high ground around Kohima, but only the Royal West Kent Regiment made it to the town before Sato’s division sealed off the area. Local troops joined the West Kents, but the 1,500 riflemen were vastly outnumbered, and though the British and Indian troops were well-stocked with food and ammunition, they had limited stores of fresh water.
Battle of the Tennis Court
The Japanese began the assault on Kohima in early April. For days, artillery and mortar shells rained down on the defenders, many of whom were deployed in the surrounding hills. The barrages flattened most of the town, turning virtually every structure into rubble. Each night, the Japanese charged into the British lines, and though the skirmishes bloodied and exhausted each side, the Japanese made steady gains. After losing control of Kohima and much of the surrounding terrain, the remaining defenders withdrew to Garrison Hill, a large patch of elevated ground overlooking the town, with only a battery of distant artillery to support their meager defenses.
Another series of frenzied assaults soon followed. Weakened by wounds, thirst, illness, and fatigue, the West Kents and their local cohorts continued to hold their ground. In mid-April, relief elements managed to break through the Japanese ring and join the beleaguered men, and days later, lead units of the British 2nd Division followed. The exhausted, battered remnants of the original garrison finally withdrew from the line, with the bedraggled survivors stumbling out of their entrenchments – gaunt, bearded, and their uniforms in tatters.
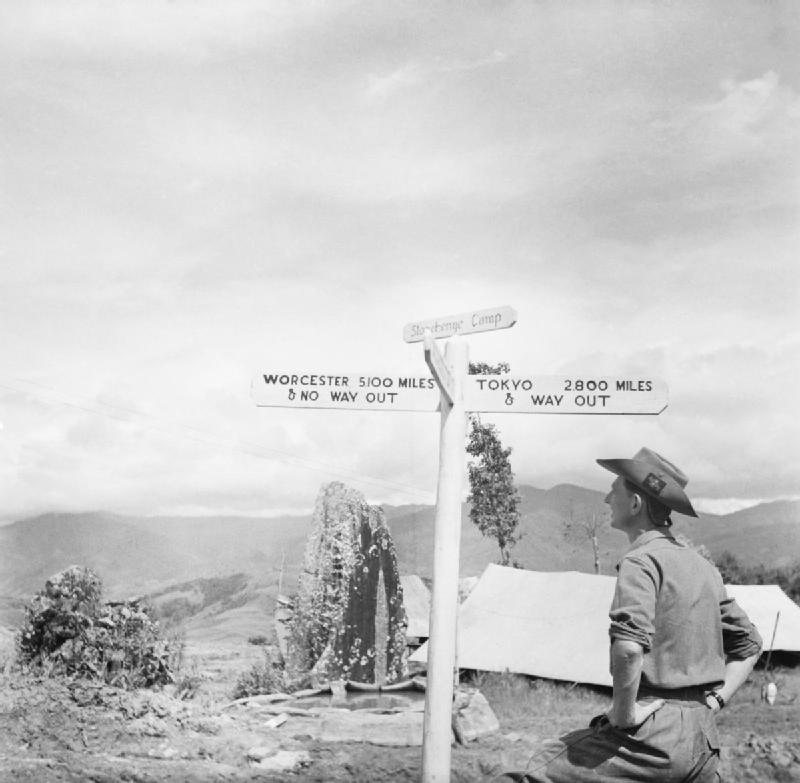
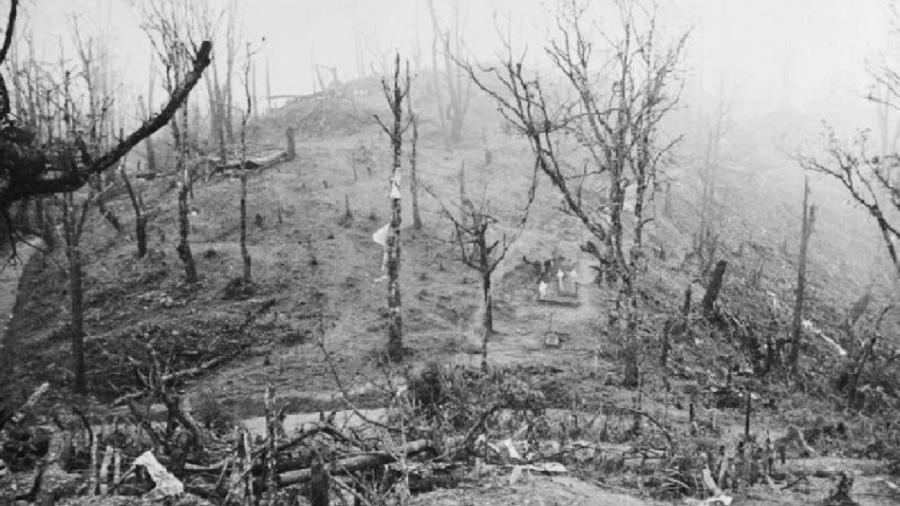
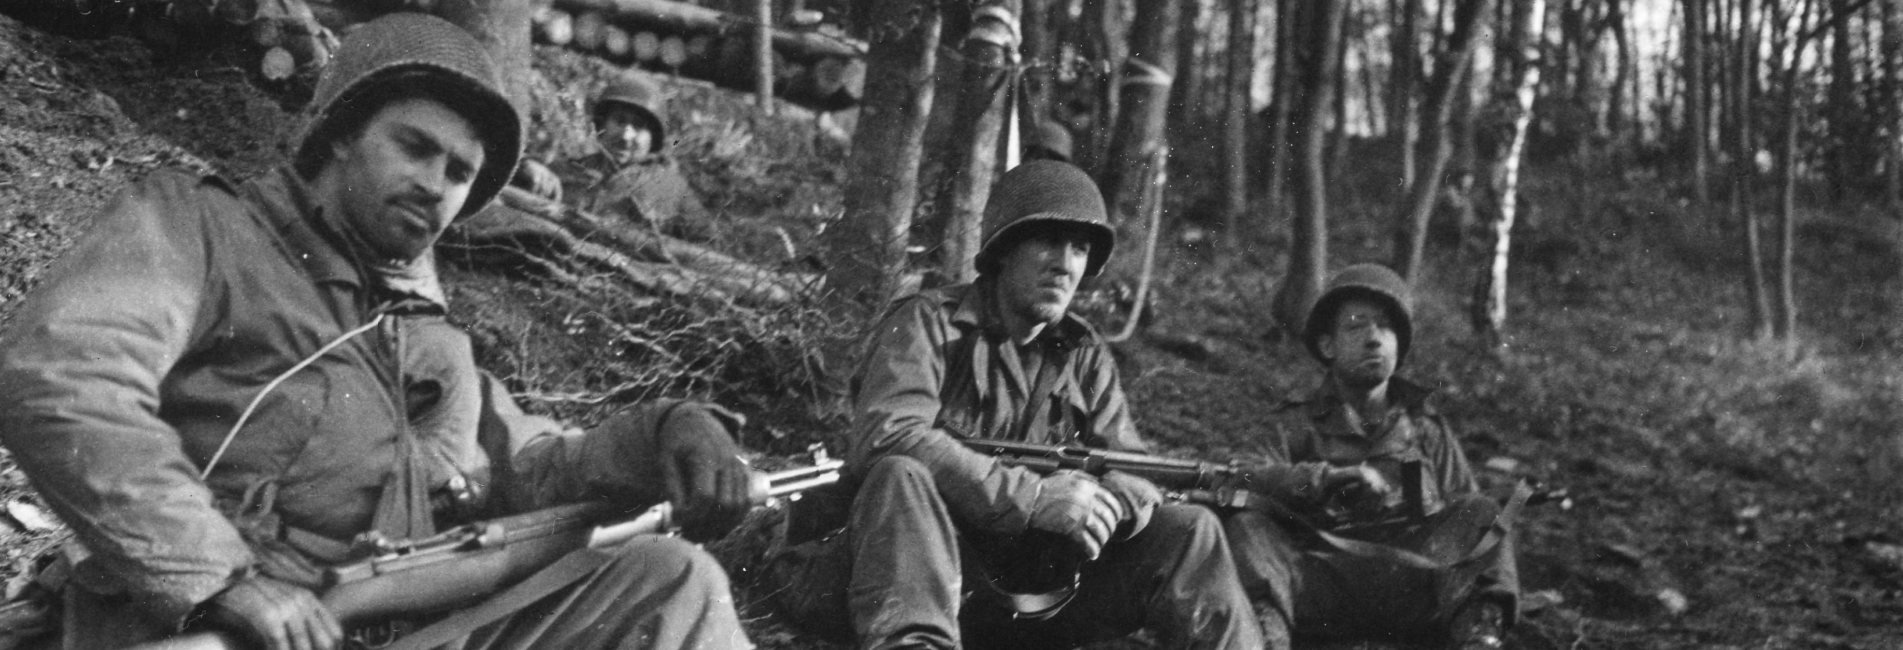
The struggle for Kohima continued, and unending artillery and mortar barrages turned the surrounding hillsides into a wasteland of shattered trees and corpse-filled shell craters. Soldiers on both sides fought from mud-filled, disease-ridden trenches, and decomposing remains were everywhere, fouling the air with an inescapable stench of death and human filth. The worst carnage was spread across the once-pristine compound belonging to the District Commissioner. His residence was a hillside bungalow, with gardens, a tennis court, and clubhouse nestled along elevated terraces. The close-quarter combat that raged between the Japanese and Commonwealth troops across the once-manicured grounds was among the most savage of the war. In the aptly named Battle of the Tennis Court, the two sides fought from trenches barely twenty yards apart. For days, withered men pounded by daily shelling fought with desperation, lobbing grenades at one another and grappling with pistols and bayonets.
British reinforcements arrived, including armor, and with his own supplies fast dwindling, Sato shifted his forces into defensive positions. The British armor was a clear advantage, but the uneven, muddied terrain made the use of tanks nearly impossible. A breakthrough came in early May when a solitary tank was maneuvered onto what was left of the tennis court. It made short work of the Japanese defenses, opening the door for an assault on Naga Village, which had become a Japanese stronghold.
For two weeks, the Japanese held out across the ridges, fighting to the death. Casualties soared on both sides, but the Japanese were nearing starvation, having carried just three weeks’ worth of supplies into India. With air support non-existent and further resistance untenable, Sato withdrew what was left of his division on May 31, defying Mutaguchi’s order to hold at all costs. Such brazen defiance was a rarity in the zealously disciplined Imperial Army, but Sato’s starving division was decimated, with more than 6,000 killed and wounded in Kohima alone. Allied casualties there were also steep, numbering an estimated 4,000.
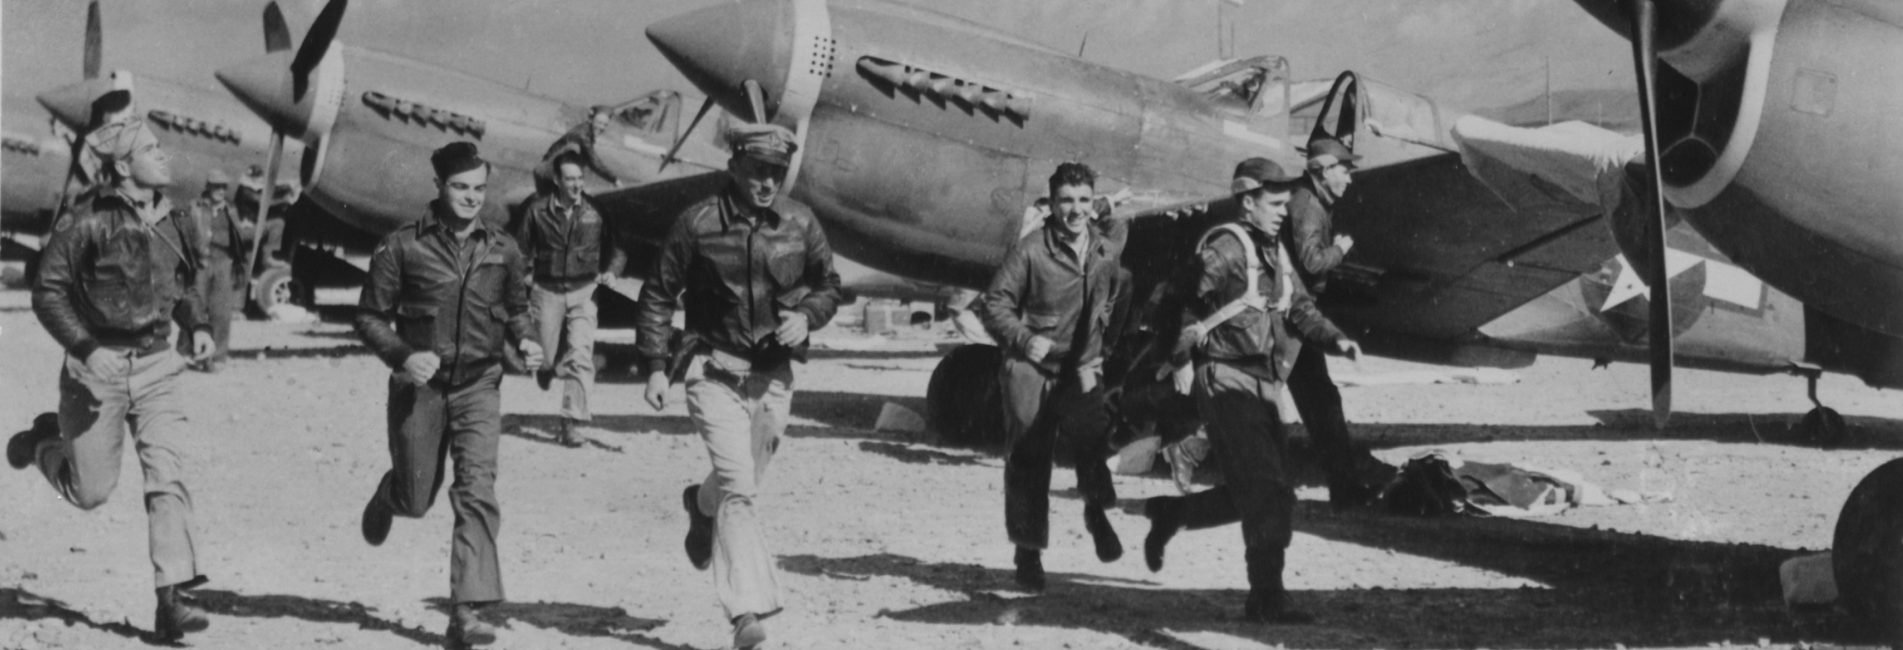
The broader Japanese offensive had fared no better at Imphal, a credit to Allied air power. With the Japanese failing to overrun the airfields, the Allies were able to fly in food, ammunition, and reinforcements to the besieged defenders and evacuate the wounded. The gambit to spark an uprising against British rule also fell flat. The Indian people hardly considered the Imperial Army troops as liberators, well-versed in Japanese brutality and oppression across the foreign lands they occupied. With the onset of monsoon rains, and the fighting strength of his men drained by malnutrition and disease, Mutaguchi had no choice but to salvage what was left of his army and retreat to Burma.
Aftermath
The disastrous offensive in India marked a turning point in Asia, and (at the time) the worst defeat of the war for the Imperial Army, with 53,000 men dead or missing. The British and Indians had suffered as well, with more than 16,000 casualties, but they had turned back the Japanese offensive and shattered an entire army. Japanese forces in Southeast Asia would never recover from the defeat.
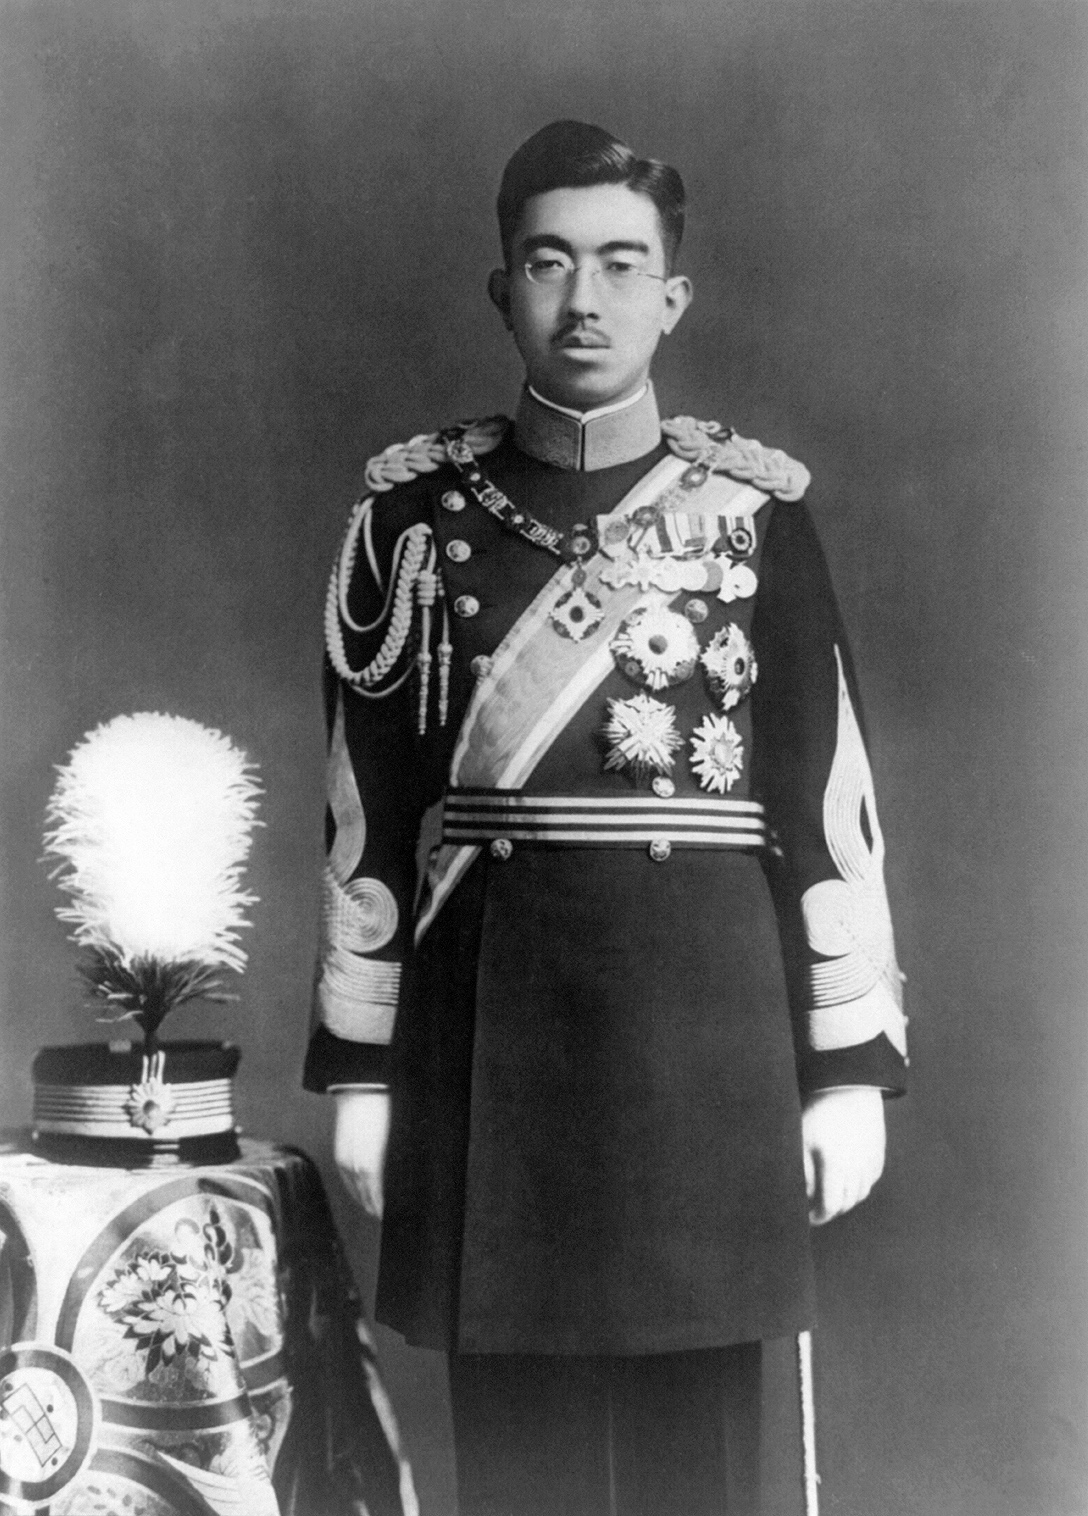
Equally consequential, a newfound confidence rippled across the Commonwealth forces, eager to press the fight and no longer daunted by the aura of the Imperial Army and its jungle-fighting abilities. Buoyed by this self-assurance, the British opened their long-anticipated campaign in northern Burma in late 1944. Still reeling from losses in India, the Japanese were unable to hold back the British thrust as it drove deep into occupied territory. By May 1945, hundreds of thousands of Allied prisoners had been liberated, and the key Burmese port of Rangoon, seized by the Japanese in early 1942, was back in British hands. Three months later, Emperor Hirohito agreed to surrender, and the war was finally over.